

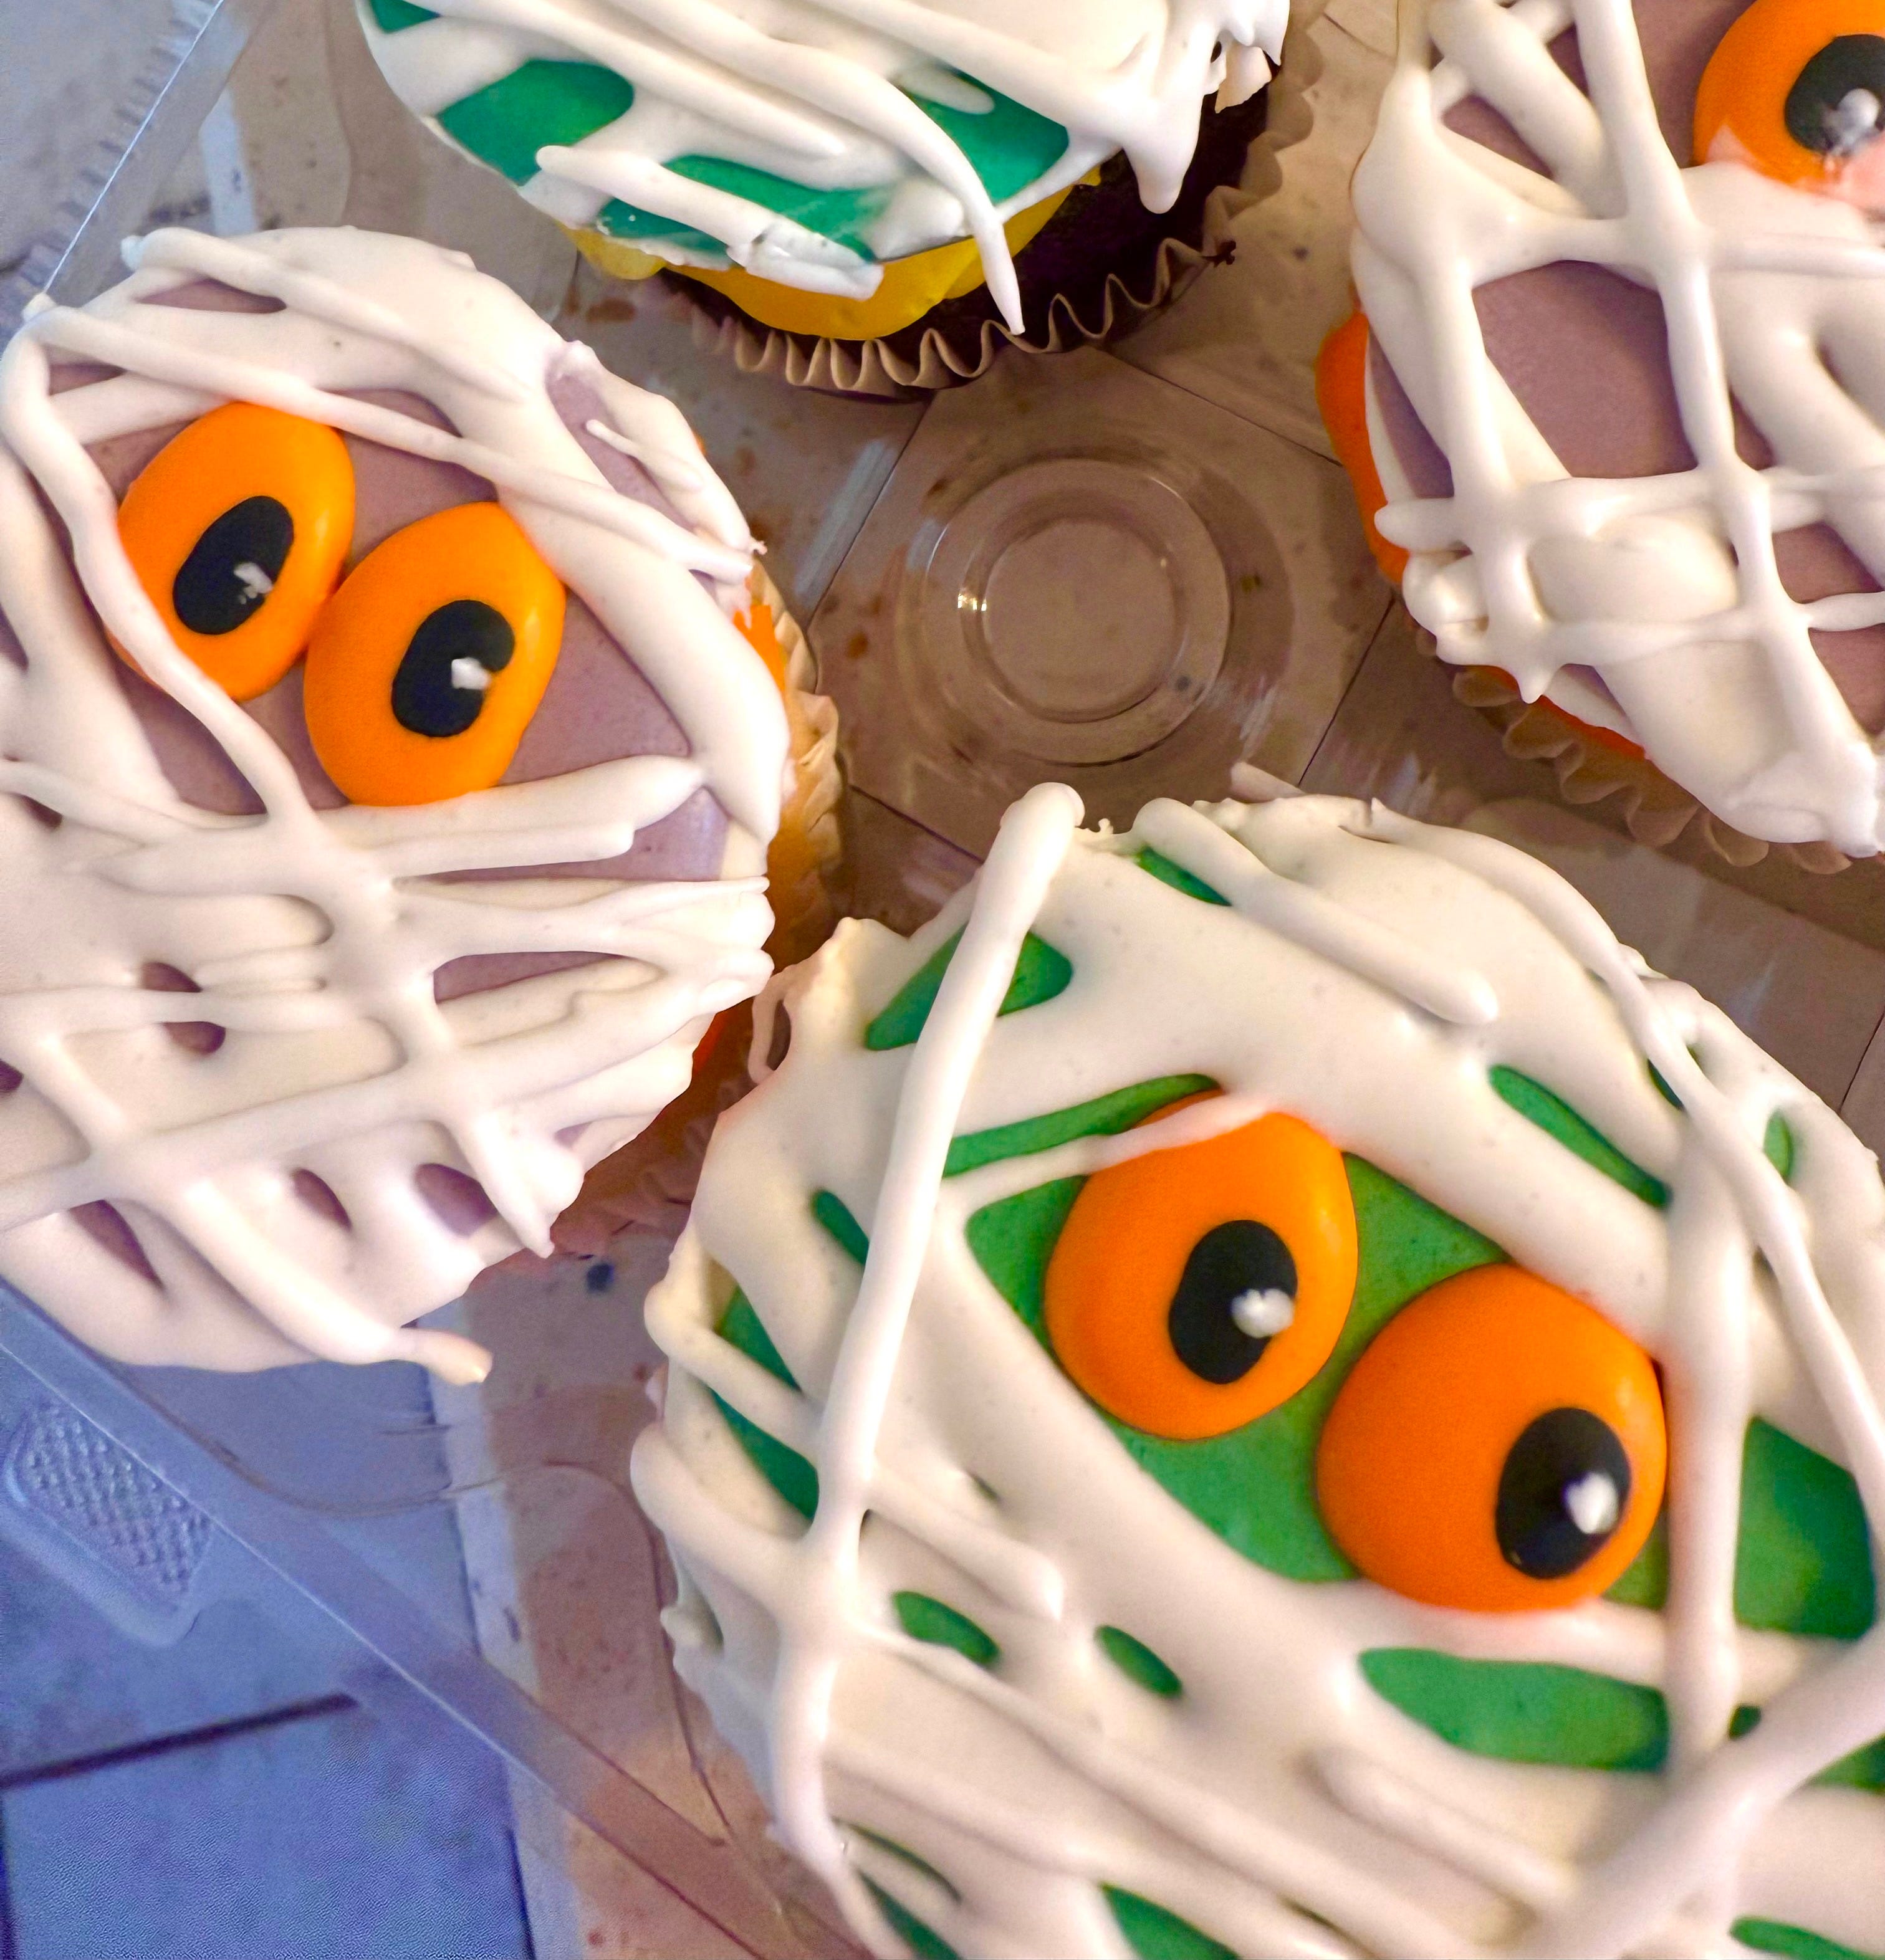
It’s that time! Not only is it spooky season, but we’re now in the heart of Halloween week! So, if you’re in need of an easy showstopper of a design to impress your favorite goblins, you’ve come to the right place.
These edible cupcake toppers are easy enough to involve the whole family, quick enough to get done in an afternoon, and convenient enough to pop on top of any cupcake - even storebought ones (I promise I’ll take your secret to the grave!)
Follow these steps to create mummy eyes that are designed to give guests the creeps, but we all know they’ll say they are “too cute to eat.”
Step 1: Pipe the Chocolate Coin Base
Line a baking tray with parchment paper. (Bonus points if your tray fits into your refrigerator.)
Melt chocolate or candy melts over a double boiler. When the chocolate is just melted, place into a piping bag.
Pipe 2 1/2 -inch circles on the parchment.
Place tray in the refrigerator until the chocolate is firm. Once the chocolate sets, carefully pop each round off of the tray.
Flip the chocolate coins so that the flat side is facing up.
Step 2: Flood the Chocolate Coin with Royal Icing
Grab your favorite royal icing recipe and choose a couple of spooky colors to serve as your mummy’s skin tone. I went with a muted purple and green, but any color will work.
Pipe the royal icing onto the chocolate coin to cover it. No need to complicate it - I personally just flood from the center and then spread toward the edges with a toothpick (if needed), but you could also choose to outline the circle and then flood the interior of it. Either way, leave a millimeter or 2 of a rim so that you’re able to pick up the coins and so that the royal icing doesn’t flood over the edges.
Pro tip: Place a fan near the tray to allow the royal icing to set evenly and quickly.
Step 3: Pipe Royal Icing Eyes
Now that your “mummy skin” color is set on the chocolate coin, it’s time to add the eyes (Cue the Halloween oooOOOooo sound effect.)
Fill a piping bag with royal icing dyed to your preferred eye color. I chose orange but I think yellow or neon green would also work well for mummies. You will also need a piping bag filled halfway with black icing, as well as a scoop of plain white royal icing in a bowl and a toothpick.
Pipe oval eyes with the orange icing. While the icing is still wet, pipe a dot of black icing on the eyes to create the pupil.
Then, dip your toothpick into the scoop of white icing. Place a tiny dot of white icing in the same spot on each pupil to create an eye-shine effect. This last step is totally optional, but I think these tiny details are what make designs seem impressive.
Step 4: Pipe the Mummy Wrap
Once the eyes are completely set, you can go ahead and ask yourself if you ever feel like someone is watching you. Because you should now have a tray full of eyes staring back at you. Creepy.
Fill a piping bag with plain (white) royal icing. Now, this is the fun part: squeeze the icing across the chocolate coins.
Some tips to make this look like mummies:
Work the icing in different directions to create overlapping effects
Make sure that you pipe beyond the coin so you don’t see where the icing ends
Try not to cover the eyes completely - especially the pupils
Once this is set, you can go back and pipe again to add more definition to your wrap
Have fun with it! There’s no wrong way to wrap a mummy. Kids love this part so let them be silly with it
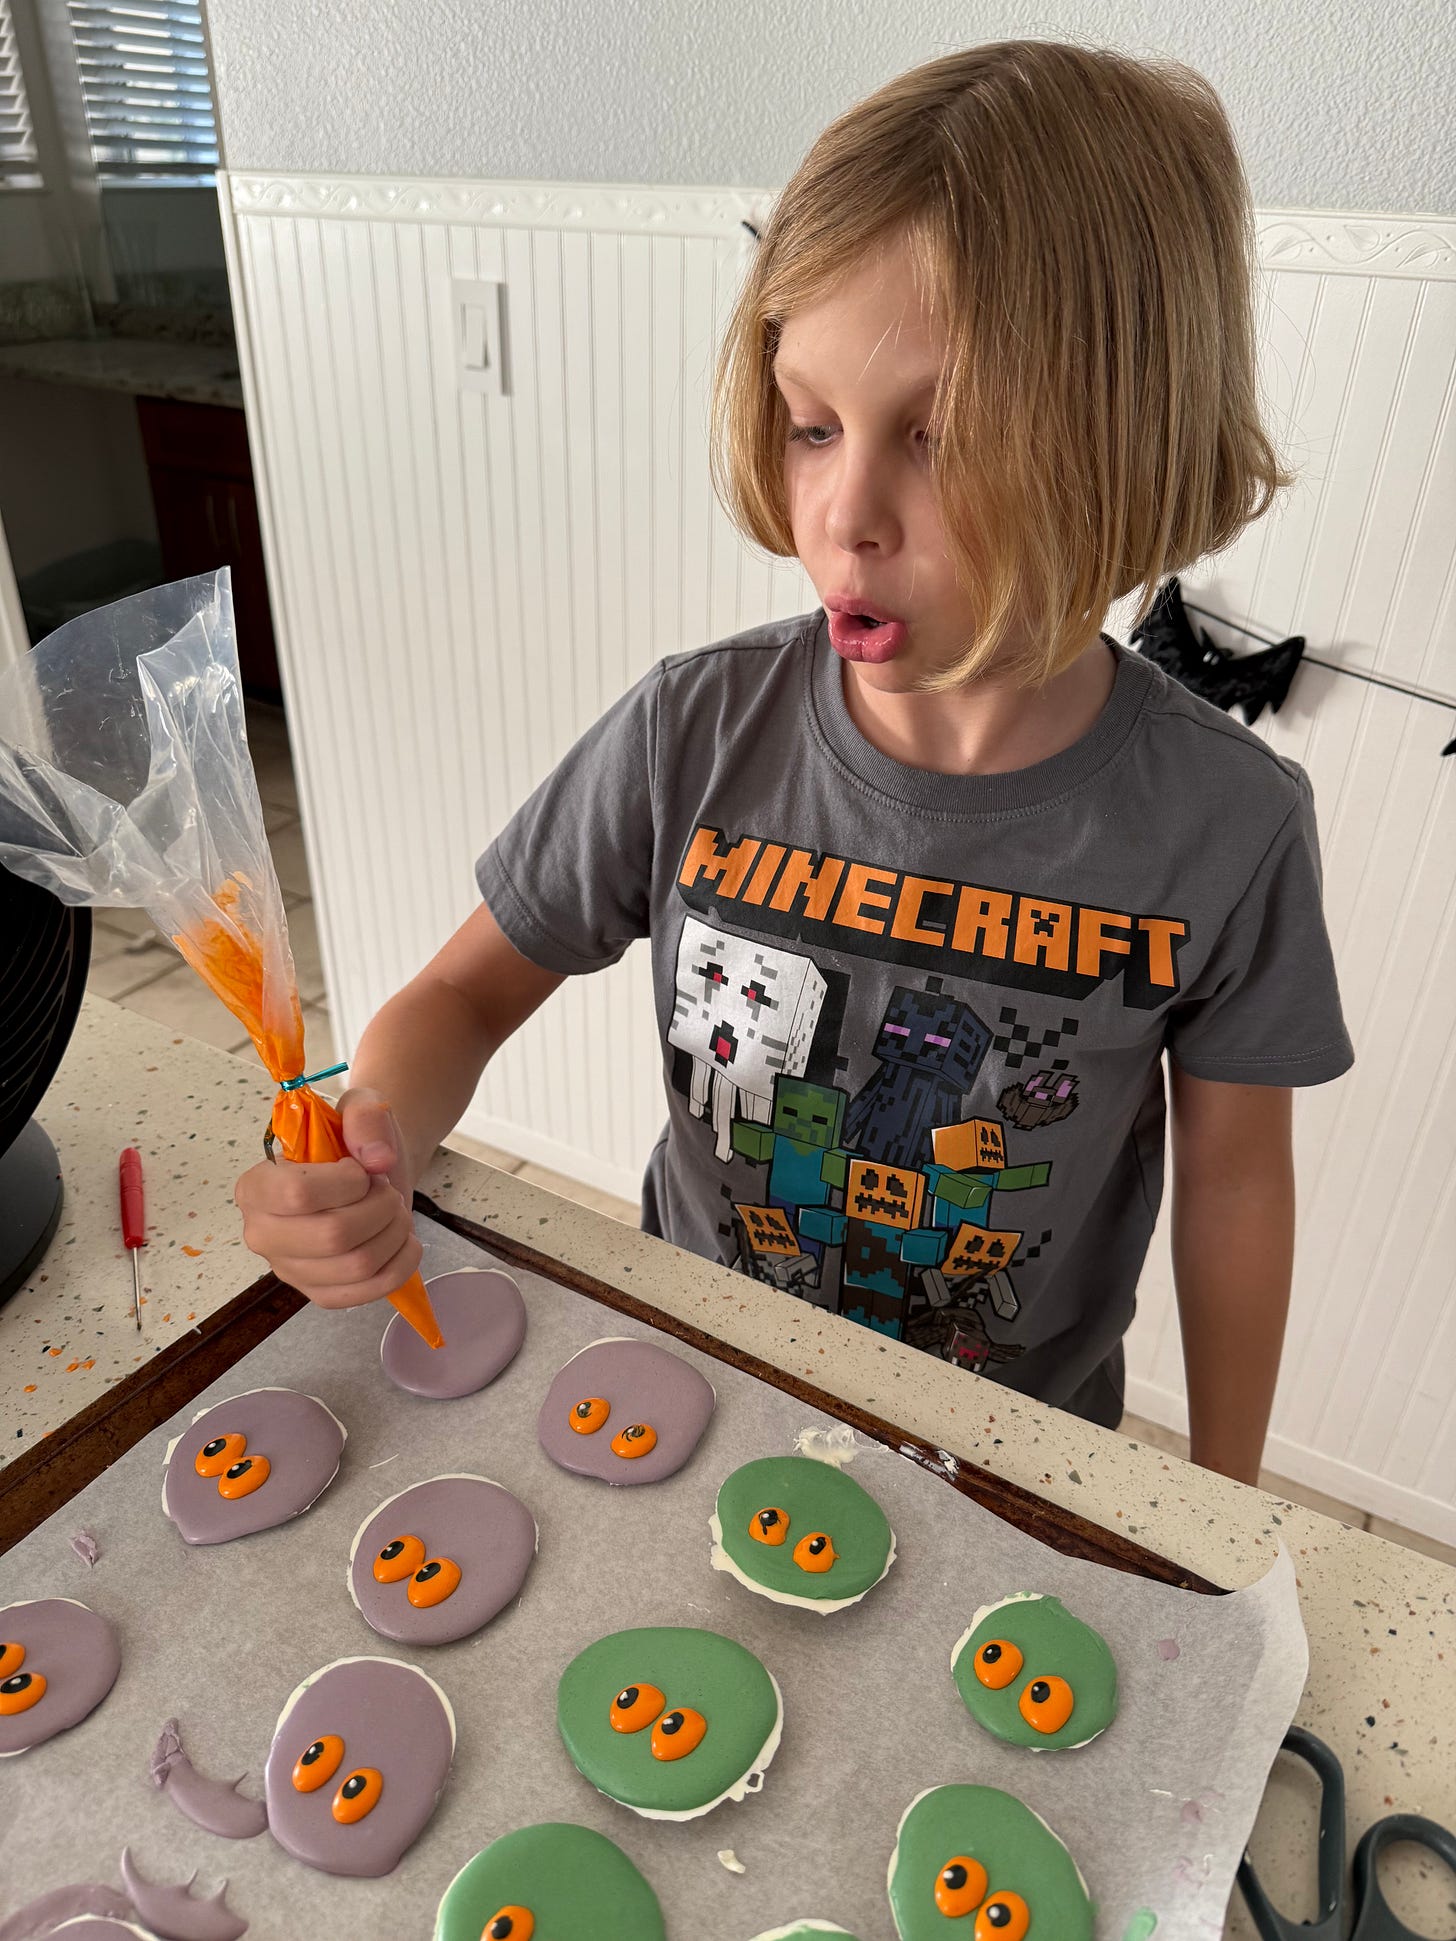
These mummies are fun to create for kids and kids-at-heart
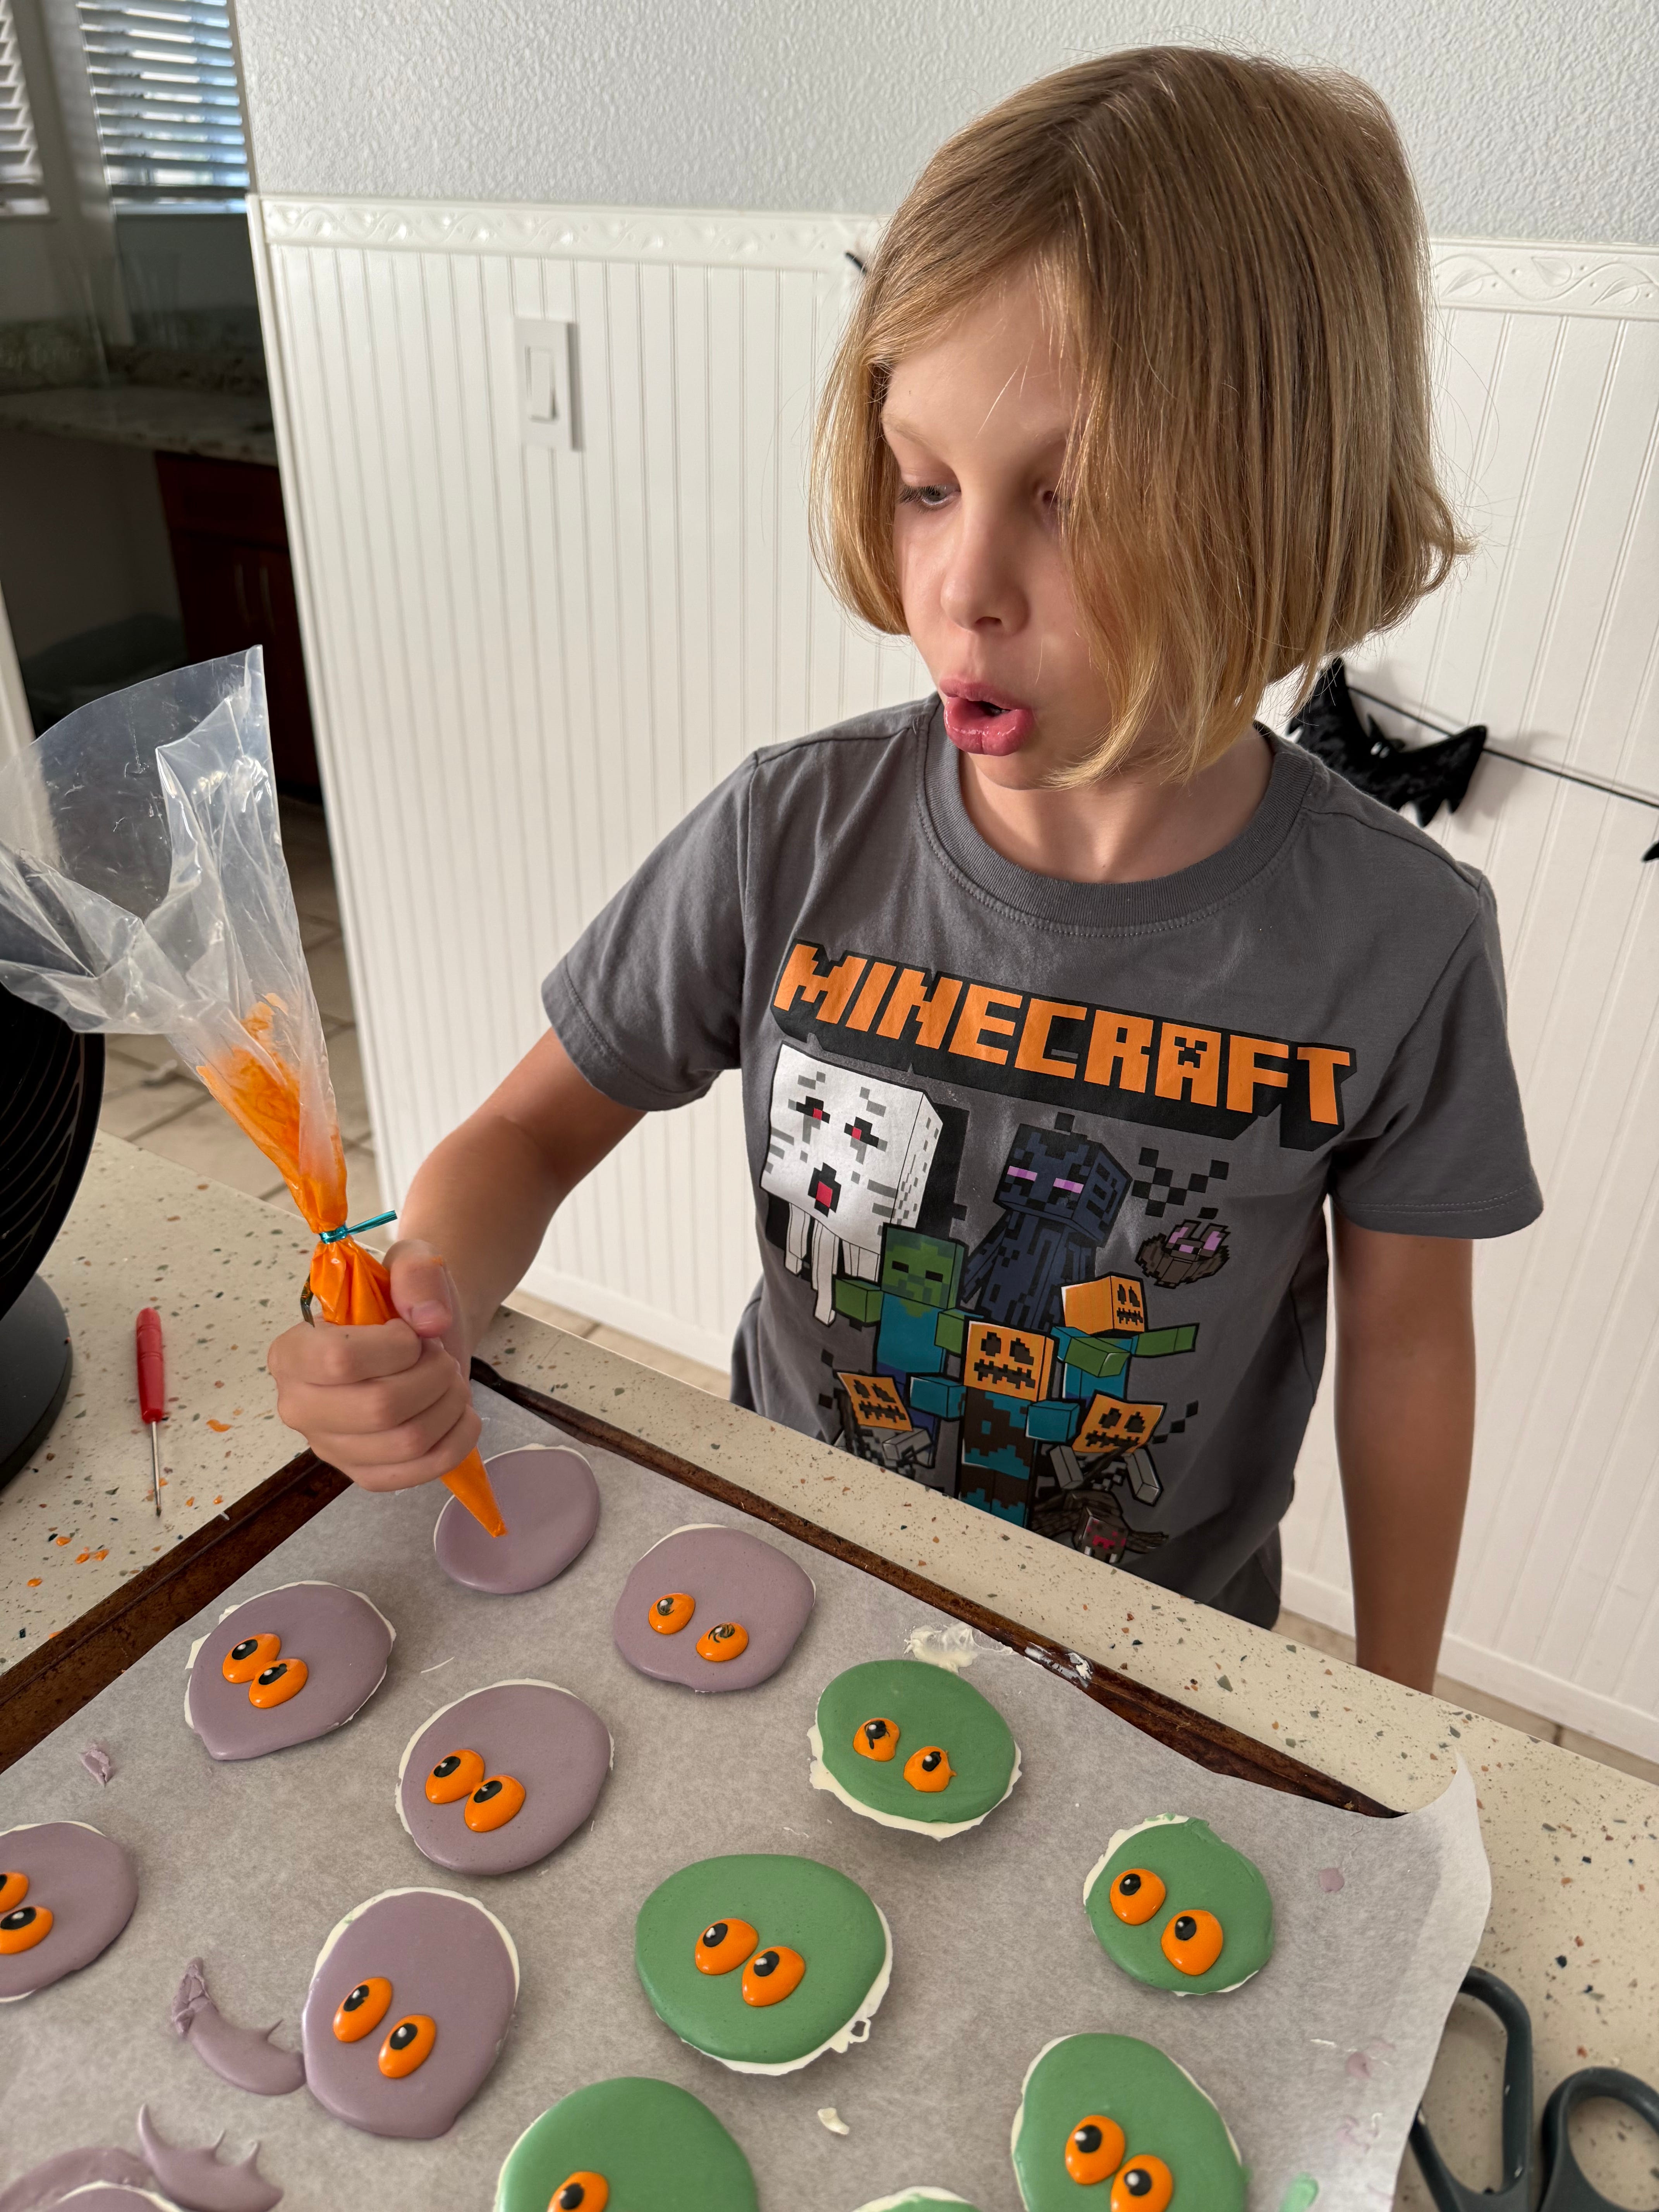
Step 5: Top Your Cupcakes
Your mummies are officially done! So, let’s give them a home. Although, in this case they’ll live atop a cupcake instead of tucked away in a tomb. Afterall, these are way too cute not to be admired!
All you need to do is gather your favorite seasonal cupcakes (looking at you, pumpkin!) and place the mummy coin on top of the frosting.
The best thing about decorating on chocolate bases is these decorations will last a really long time. They are mummies, they might just last forever. So even if you’re decorating on Sunday, you could save the decor in an airtight container in a cool, dry place until Halloween - no problem.
I can’t wait to see your mummies! Please take a picture of your creations and make sure to tag me either on:
Substack Melly Meyer | A Baker Abroad
Instagram @abakerabroad
Tiktok @abakerabroad
Also, if you know a foodie who would love these posts, please share it with them. It’ll help me grow - and make me do a happy dance!